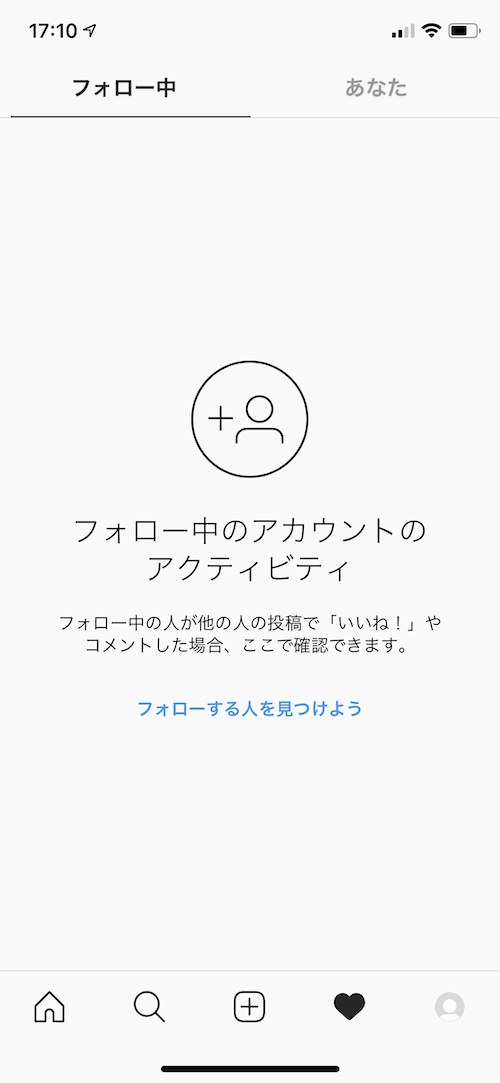
はじめに
InstagramのようにTabBarの真ん中が通常のTabBarItemではなく、押下することでModalで画面が表示されたり、
シートで選択肢が表示されるようなアプリがあります。また真ん中のボタンのデザインがTabBarからはみ出したりしているようなものもあります。このようなUIを作成する方法に関して記載します。

環境設定
以下の環境を使用しています。
- Xcode10.2.1
- Swift 5.0.1
方法
おそらく一番簡単な方法は真ん中にタップ不可能なTabを追加し、その上にボタンを配置する方法です。 まずはTabBarItemの生成部分を見てみます。ここで注意すべき点は以下です。
- 真ん中にImage, SelectedImage, titleが全てないUITabBarItemを追加する
- 真ん中のUITabBarItemのisEnableをfalseにする
このようにすることでTabBarの真ん中にボタン配置用のスペースができ、誤って真ん中のタブを選択されるようなことを防げます。
// タブ情報定義部分
    enum TabType: Int, CaseIterable {
        case pickup
        case news
        case empty
        case friends
        case settings

        var data: (title: String, image: UIImage?, selectedImage: UIImage?) {
            switch self {
            case .pickup :
                return (title: "ピックアップ", image: UIImage(named: "ic_pickup"), selectedImage: UIImage(named: "ic_pickup"))
            case .news:
                return (title: "ニュース", image: UIImage(named: "ic_news"), selectedImage: UIImage(named: "ic_news"))
            case .empty:
                return (title: "", image: nil, selectedImage: nil)
            case .friends:
                return (title: "ともだち", image: UIImage(named: "ic_friends"), selectedImage: UIImage(named: "ic_friends"))
            case .settings:
            return (title: "設定", image: UIImage(named: "ic_setting"), selectedImage: UIImage(named: "ic_setting"))
            }
        }
    }


// タブ生成部分
        var addingViewControllers = [UIViewController]()

        TabType.allCases.forEach { type in
            var viewController: UIViewController
            switch type {
            case .pickup: viewController = UIViewController(nibName: nil, bundle: nil)
            case .news: viewController = UIViewController(nibName: nil, bundle: nil)
            case .empty: viewController = UIViewController(nibName: nil, bundle: nil)
            case .friends: viewController = UIViewController(nibName: nil, bundle: nil)
            case .settings: viewController = UIViewController(nibName: nil, bundle: nil)
            }
            let navigationController = UINavigationController(rootViewController: viewController)
            let tabBarItem = UITabBarItem(title: type.data.title, image: type.data.image, selectedImage: type.data.selectedImage)
            if case .empty = type { tabBarItem.isEnabled = false } // 真ん中のタブはさわれない
            navigationController.tabBarItem = tabBarItem
            addingViewControllers.append(navigationController)
        }
        setViewControllers(addingViewControllers, animated: false)
次にTabBarの真ん中のボタン生成・配置をみていきます。 特に特別なことはしていなく、Buttonを作成、Propertyとして保持、Viewに追加、viewWillLayoutSubviewsにてレイアウトの調整を行っています。
AutoLayoutで配置の調整を試みましたがうまくいかなかったため、FrameLayoutで行っています。このあたり良い方法をご存知の方がいましたら共有いただけますと嬉しいです。
    // MARK: Property
    private var centerButton: UIButton!

    override func viewDidLoad() {
        super.viewDidLoad()
        setupView()
        addCenterButton()
    }

    override func viewWillLayoutSubviews() {
        super.viewWillLayoutSubviews()
        centerButton.center = tabBar.center
        centerButton.frame.origin.y = tabBar.frame.origin.y
    }

    func addCenterButton() {
        let centerButton = UIButton(type: .custom)
        centerButton.setBackgroundImage(R.image.white_circle()!, for: .normal)
        centerButton.setImage(R.image.ic_camera()!, for: .normal)
        centerButton.addTarget(self, action: #selector(didTapCenterButton(_:)), for: .touchUpInside)
        centerButton.frame = CGRect(x: 0.0, y: 0.0, width: 50.0, height: 50.0)
        self.centerButton = centerButton
        view.addSubview(centerButton)
    }

    // MARK: Button Action
    @objc func didTapCenterButton(_ sender: UIButton) {
        // 省略
    }
以上で以下のようなTabBarが作成できます。
真ん中のボタンを押下した際の挙動は @objc func didTapCenterButton(_ sender: UIButton) に記載します。

まとめ
TabBarの真ん中に通常のTabBarとは違う挙動をするボタンを追加する方法を記載しました。 アプリ開発をするなかで要件として出てきた際にはぜひ活用してみてください。 なお、本記事ではコードベースでの生成方法を記載していますが、StoryboardにてTabBarを配置しそちらでレイアウト調整等するのも方法としてありだと思います。